
The Ultimate Art Supply Organization Guide for Busy Art Teachers
September 17, 2025 | by ltcinsuranceshopper

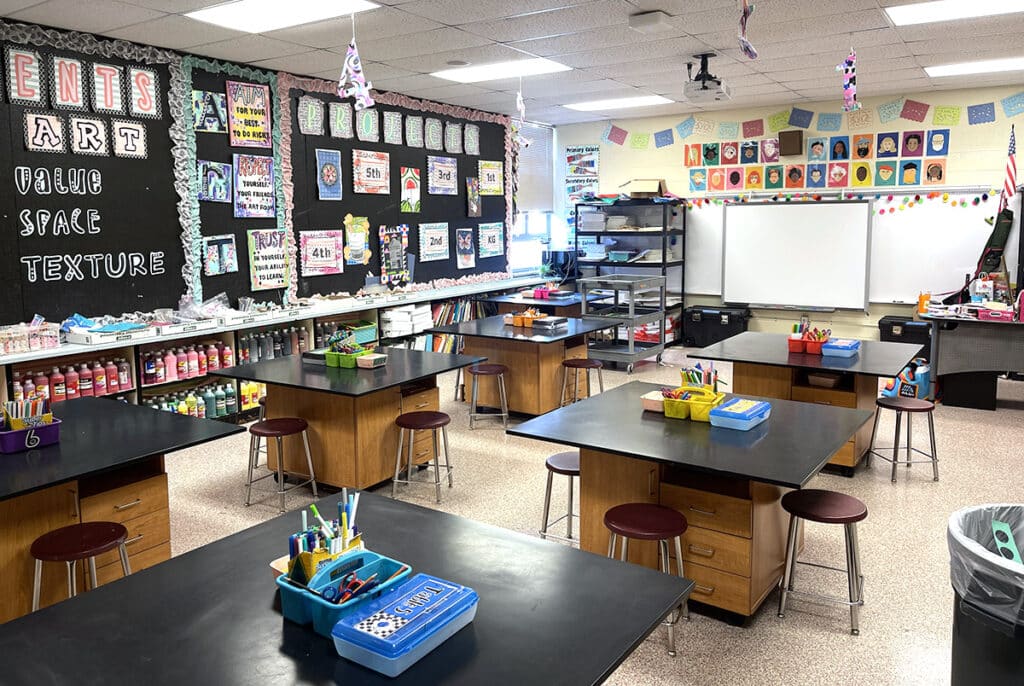
Art teachers love good art supplies! The smell of a fresh box of crayons, the feel of a newly opened box of clay, or the beautiful rainbow of acrylic paint bottles lined up neatly on the shelf. Unfortunately, the sheer volume of art supplies can lead to massive overwhelm. Where do you store both bulk reserves and what’s currently in use for students? How do you know what’s best for learning, the classroom layout, and art material properties? When art supplies are organized in a system that works for you and your students, everyone will have more capacity for creativity.
We’re here to address your art supply dilemmas. Take a look at the tips below to conquer your art supply piles and organize them like a pro!
1. Apply the “one touch rule” to digital “art supplies.”

From bookmarked resource websites to files of stock photos, music, or fonts, even our digital “art supplies” can become a chaotic mess. Apply the same “one touch rule” you may already use for physical clutter to your digital clutter. The rule is simple: avoid handling items more than once to save time, energy, and space. Take care of your digital items as soon as you snap a picture or download a brush file. Label and store them exactly where you want instead of reassuring yourself that you’ll take care of it “later.”

Visit The Art of Ed Community for teacher-approved tips to organize your supplies—even digital ones! Members share what works (and what doesn’t) to give you inspiring “aha moments” and be a sounding board for your unique situation. When you find solutions that work for you, pass them along to other art teachers. You may have the tip they’ve been looking for!
Join the Thread!
2. Choose the organization strategy for your personality.

Every art teacher and art room is different. You may be a Type A art teacher who loves things neatly arranged by color in labeled bins. Or, you may be a free spirit with every surface covered with plants and artmaking in action. You may have a passion for recycled materials, or you may be an avid painter. Your art room may have tons of cabinets and shelves, you may be in an old shop classroom, or you may not even have a physical room. Not every system you see on social media for organizing art supplies will work for you and your students—and that’s okay!
Take stock of how you operate and what learning looks like in your space. It may take some trial and error to figure out the right strategy. However, it will be well worth the process because when you find what works, student learning and autonomy will soar, and your sanity will fuel your peace and art teacher energy.
Read More!
3. Create clear and colorful labels to encourage student independence.

Yes, we did just say that not every art teacher is a Type A teacher who likes labeled bins. However, labeling art supplies does have great benefits for all students! Labels are a subtle way to teach students the proper names of art supplies. Add a photo of the art supply so English Language Learners and emerging readers can still “read” the label. It also sets clear expectations for clean up by denoting where each specific item goes so it’s ready for the next class.
If pristine, matching labels aren’t your “thing,” go low-key. Snap a picture of what you want the bin to look like and add it to the front. No bins? No worries! Use recycled shoe boxes. Alternatively, use masking or painter’s tape (we know you have some) and a permanent marker to stick a label to anything. If you’re always changing your mind, use dry-erase labels to swap art supplies on a whim. When students can find what they need on their own, they don’t have to ask you to grab it and put it back for them.
4. Have fewer art supplies!

Many people describe art teachers as “hoarders” or “pack rats,” but fail to recognize that holding onto items is often born out of necessary resourcefulness. While it’s true that art programs never seem to have enough money, hanging onto items you realistically will never use can contribute to piles of disorganization in your classroom. Excess materials, whether inherited or accumulated over time, can seriously hamper creativity and overwhelm everyone.
Take a realistic look at the items in your classroom. Do you have bins of dried-out markers that you have every intention of turning into DIY watercolors? Do you have boxes of crusty tempera cakes you keep passing over in favor of fresh bottles? We all have at least one pile of art supplies we keep “just in case” or for “when we have time.” If so, start small with clearing out one area or container per month. A streamlined space means less time searching for what you need and more time doing what you love—teaching art.
Read More!
5. Treasure weird finds.

As you’re clearing out, you’re bound to come across some strange tools and art supplies. When you find something mysterious, post it in The Art of Ed Community to see if other art teachers can identify it for you! Sometimes, weird items are… weird, like a bag full of loose hair weave. Take a moment to treasure the find—and then toss it.
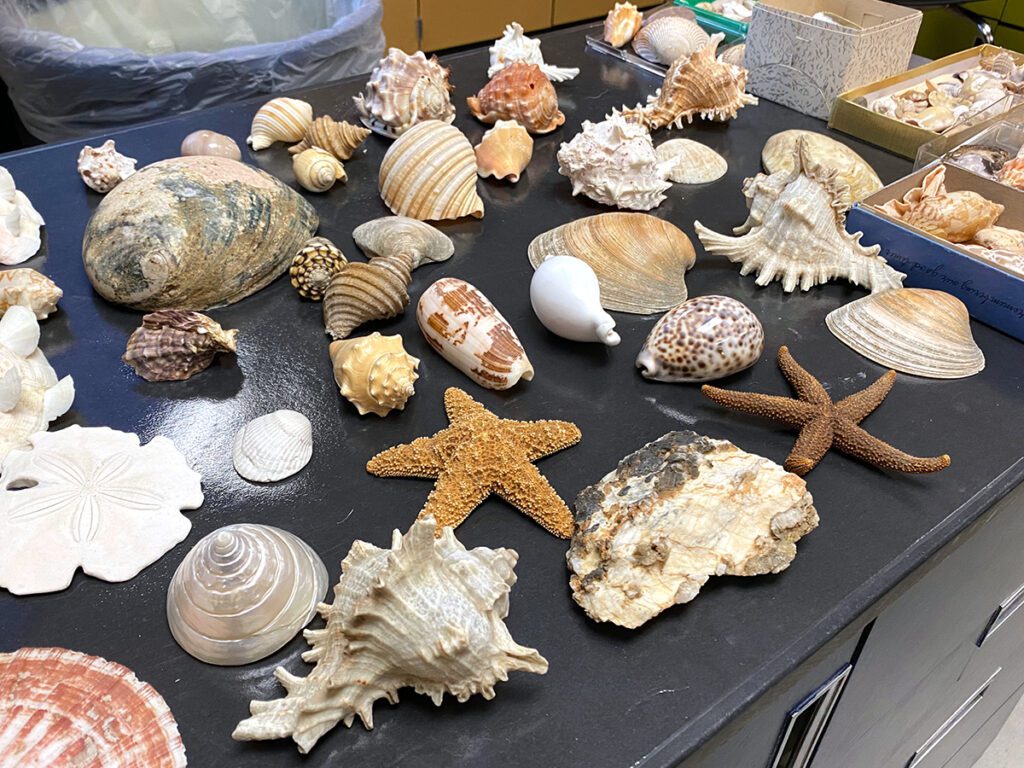
However, some supplies are necessary; you can pass them on to another art teacher or use them yourself. For example, one teacher left behind taxidermied animals, probably used for still lifes. If you think you can use them, keep them as a quirky nod to the previous art teacher and to enhance your lessons. If not, ask around your district and see if another art or science teacher can use them.
Listen Now!
Organizing art supplies is more than tidying up. It’s about creating an art room environment that inspires creativity, fosters student autonomy, and reflects your unique teaching style. With a little intention, a few minutes a month, and support from a vibrant community of fellow educators, you can transform your piles of art supplies into a system that truly works for you and your students. Remember, there’s no one-size-fits-all method, but there are solutions to make your life easier and your space more joyful!
What’s your top tip for organizing art supplies that you wish you knew as a new art teacher?
To chat about art supply organization with other art teachers, join us in The Art of Ed Community!
Magazine articles and podcasts are opinions of professional education contributors and do not necessarily represent the position of the Art of Education University (AOEU) or its academic offerings. Contributors use terms in the way they are most often talked about in the scope of their educational experiences.
RELATED POSTS
View all

Underrated Games: 10 Titles We Don’t Think Get Enough Love
September 2, 2025 | by ltcinsuranceshopper
Monday Nights helps bring new football game CLUB to life with Formation Games
September 6, 2025 | by ltcinsuranceshopper
Brice Dellsperger “Futurs intérieurs” at Centre D’Art Contemporain La Synagogue de Delme
September 18, 2025 | by ltcinsuranceshopper